

SOME BACKGROUND
So the internet is an ever-changing beast and many services on it, change as well. That includes Google Apps. Now it is called G Suite and many things that used to be free, just aren't anymore.
This isn't really a Ghost blog related post but it so happens I was doing this so I just decided to document it. Hopefully it will help somebody in the same situation
I few weeks ago I found myself needing to drop an old email domain and start using another one. Both of them were created during the free Google Apps days so they both have free email accounts under their respective domains.
To make that switch isn't that hard. A few changes at the DNS level and voilà you are done!
The issue kicks in when needing to MOVE all the emails in each account from the old domain to the new one. That is no longer something Google supports for free. Only the paid plans have an domain-wide import/export solution.
This article provides one solution you can use to transfer all your email fairly effortlessly between your old and new accounts.
WHAT TO UNDERSTAND
- The service to use is a pop3 function that Google offers in the account settings
- The function is called "Check mail from other email accounts"
- No emails are downloaded to your local computer
- All emails are transferred between Googles servers
- you can set it up, walk away and come back a few days later to have everything ready for you
- Google will automatically scan all your emails during transfer and stop any virus-infected emails from being transferred (you will also get a note from Google about which exact email is infected)
- Use two browsers at the same time. One to login to your source account and the other one to login to your destination account
- NOTE: this process will NOT transfer any labels you may have set up in the old account. (only emails are being transferred)
Ok, let's do it!
(1) Login to your Google source account
(2) Turn on pop3 on the source account for ALL email
(This will allow your other google account to login and start the email copy process, including attachments)
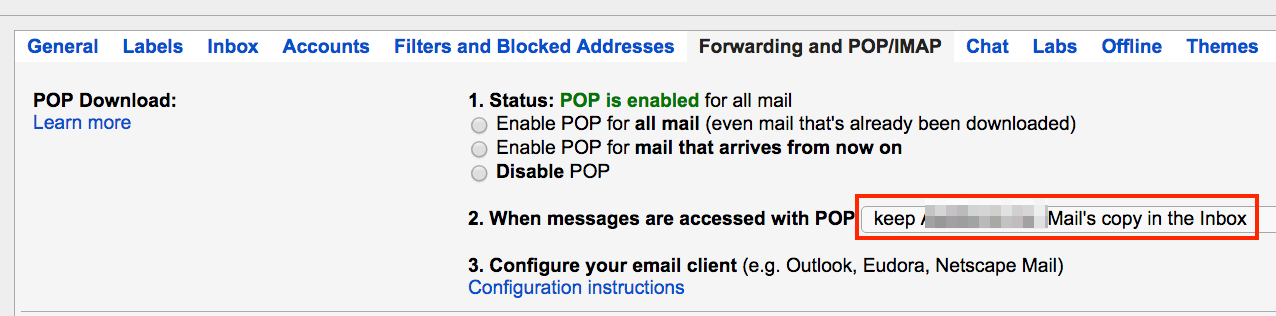
Make sure to choose the setting "keep a copy in the Inbox." That will make sure your emails are copied and not 'moved'. This way you still have a copy in the source account in case something goes wrong.
(3) Login to the receiving account (destination)
(4) Add the source account in the settings of the receiving account (destination), by going to the setting: "Check mail from other email accounts" and click: Add a mail account
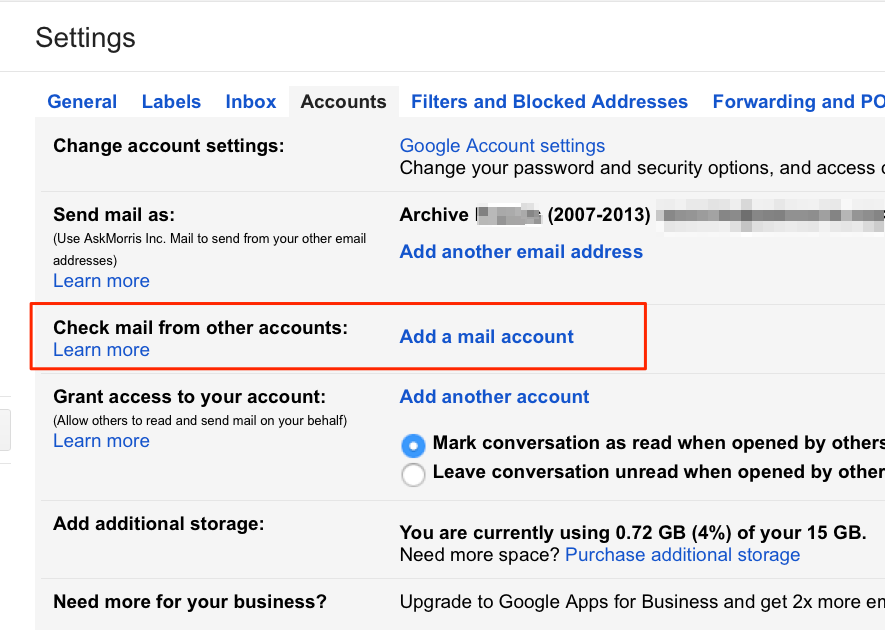
Below are screenshots that show you what the process looks like
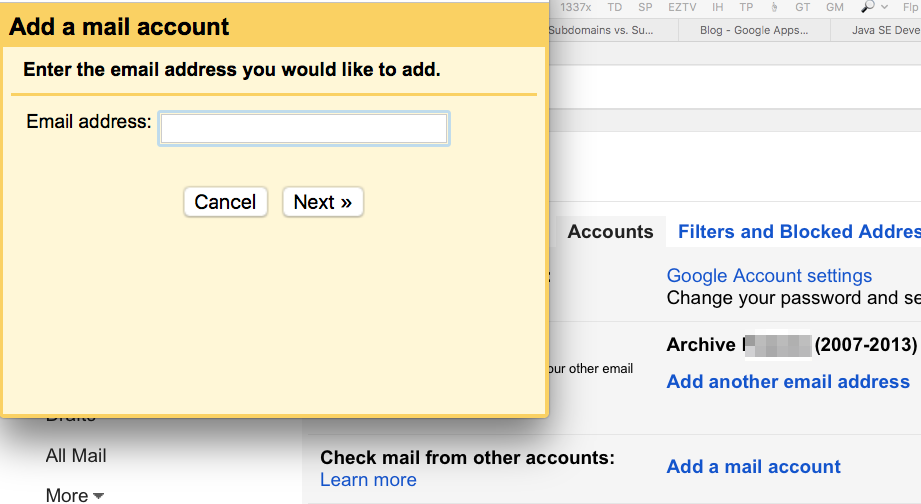
a) Add the email address to the source account
b) fill in the necessary access codes
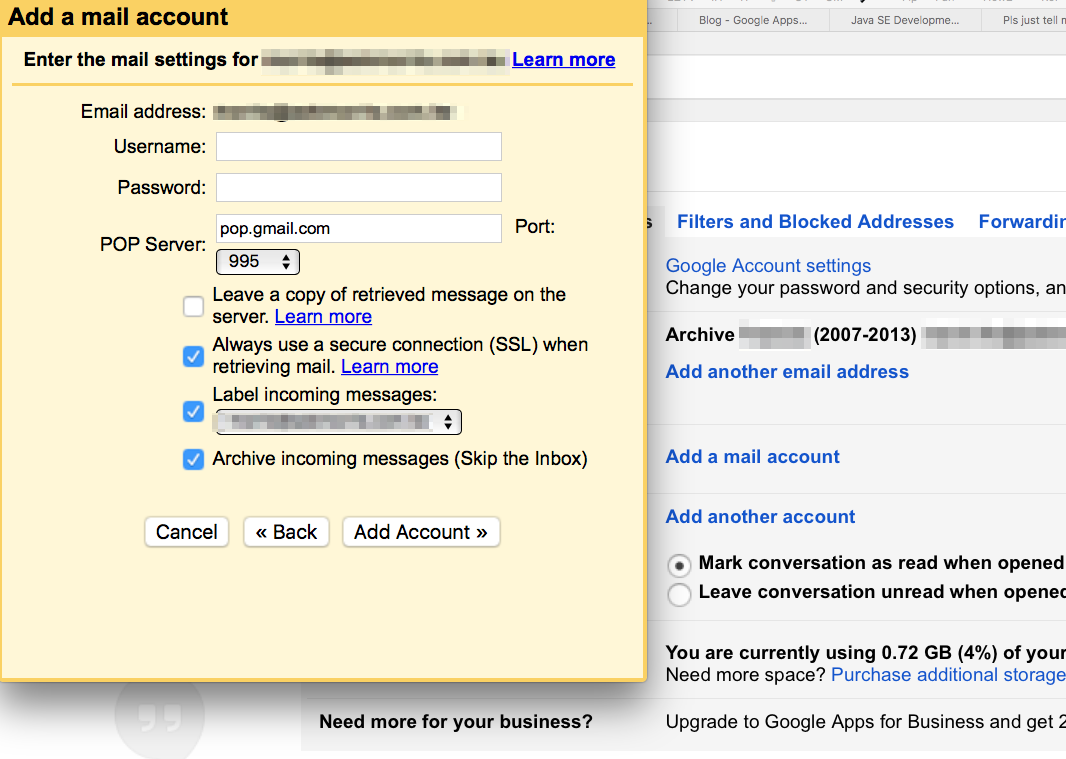
You should always choose pop server: 'pop.gmail.com' and port '995'. The remaining check boxes are self-explanatory. I checked the box that says "Label incoming messages: because I wanted to, (in the future), be able to distinguish what emails came from old account. NOTE: There is no need to check "Leave a copy of retrieved message on the server" because we have already set that in the source accounts setting
c) if access codes are correct a new window will show up as per below
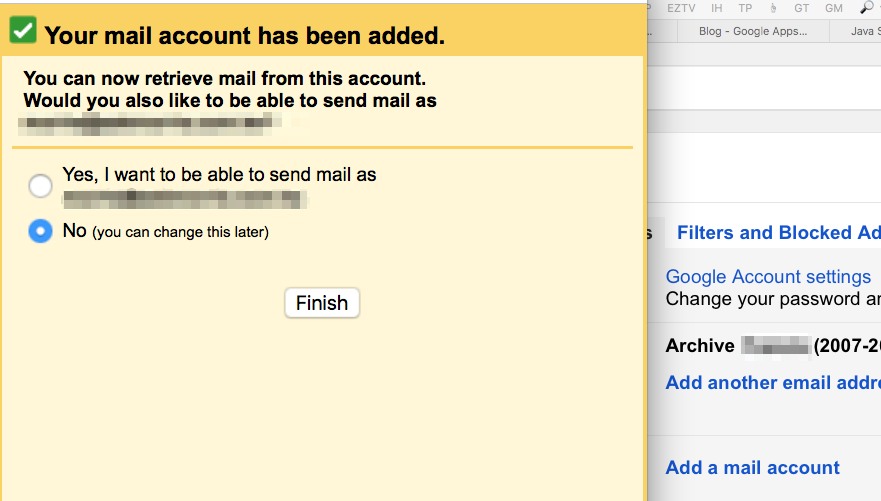
d) Once the access to the source account has been added, the copy process will begin
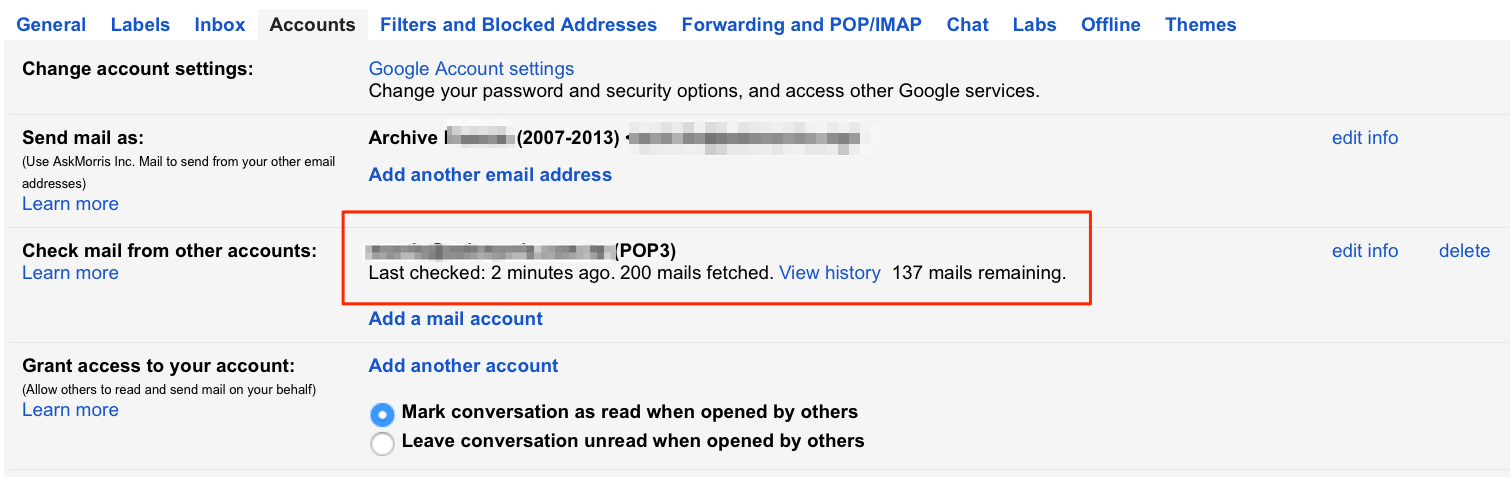
e) You can keep track of the process by clicking "View history" from time to time
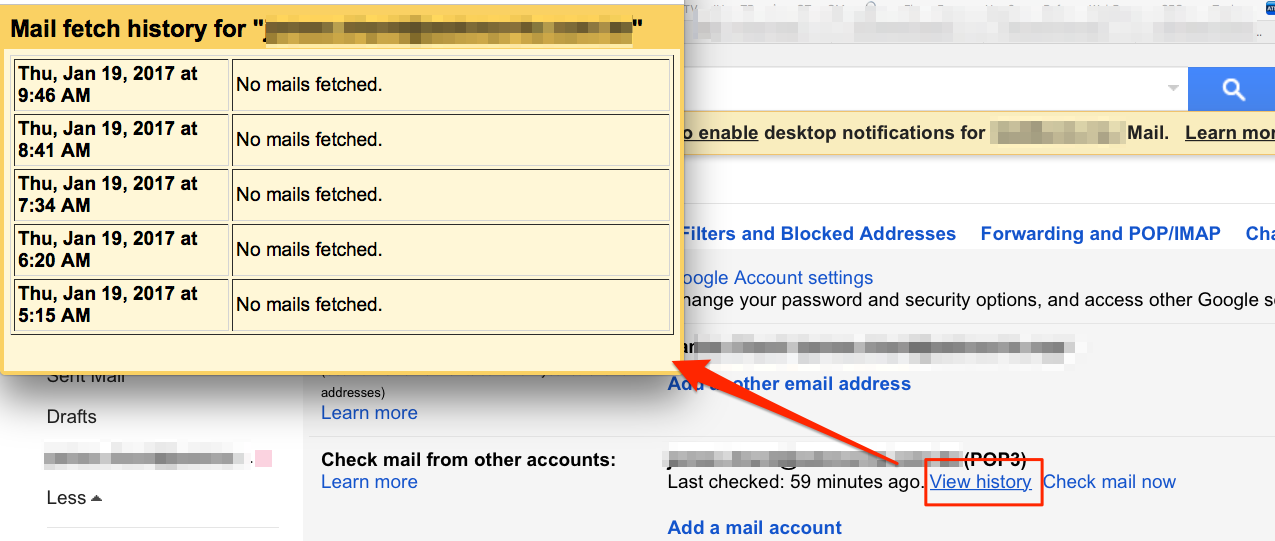
At some point you'll see that no more mails are being fetched, which can take hours to days, depending on how many email you have in your account. It took 48 hours for one of my accounts to transfer 9 years worth of emails (around 94,000 emails)
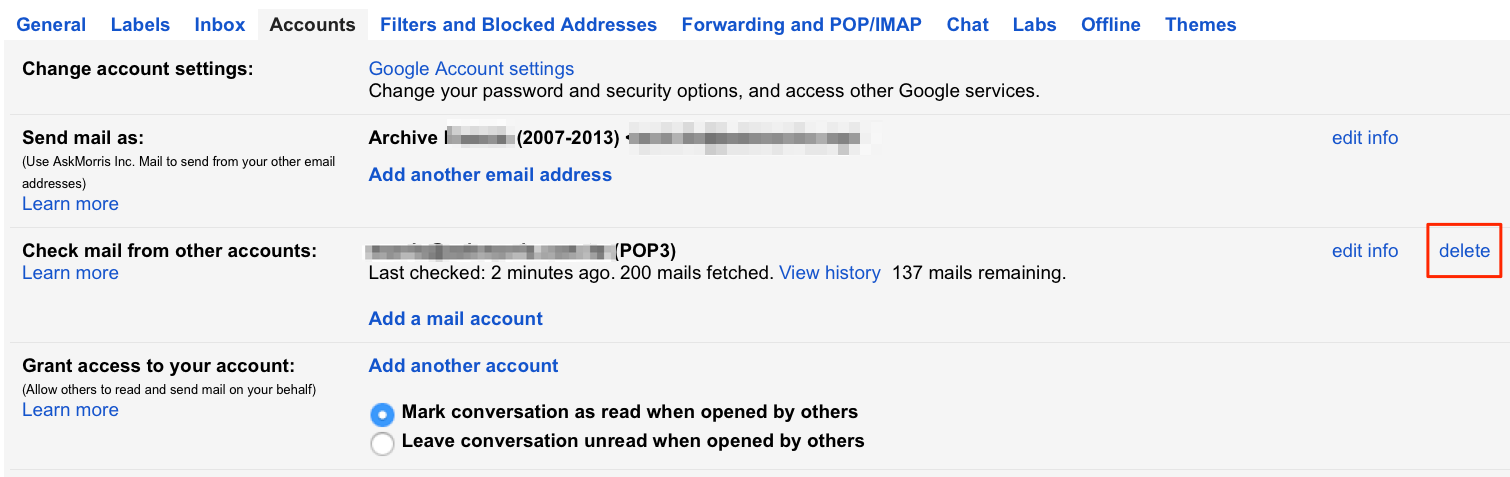
(5) Once the process is done you need to do some clean-up work. In your source account, you should stop "Check mail from other accounts" by deleting the source account that you added earlier.
(Don't worry, this will NOT delete the source account or any emails. You are just severing the connection)
(6) BONUS FEATURE (optional) Although you will be using the new email account moving forward, you may still want to keep getting emails from the old source account. There is a way you can do that without having to constantly login to the old source account.
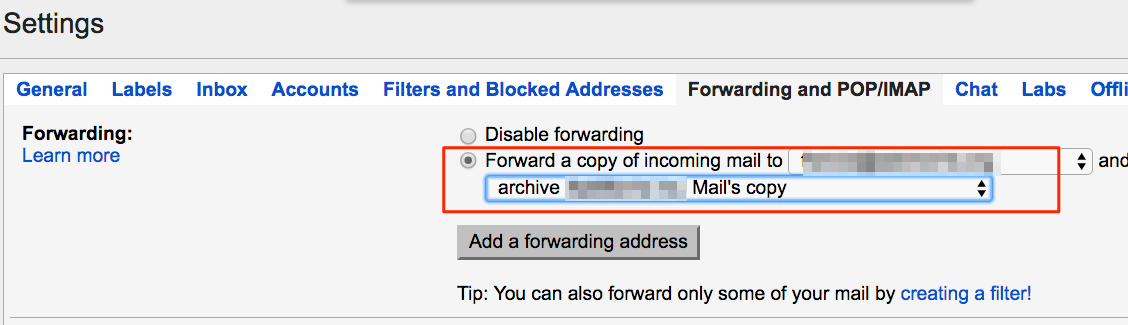
a) Login to the OLD SOURCE ACCOUNT and set up a forwarding address
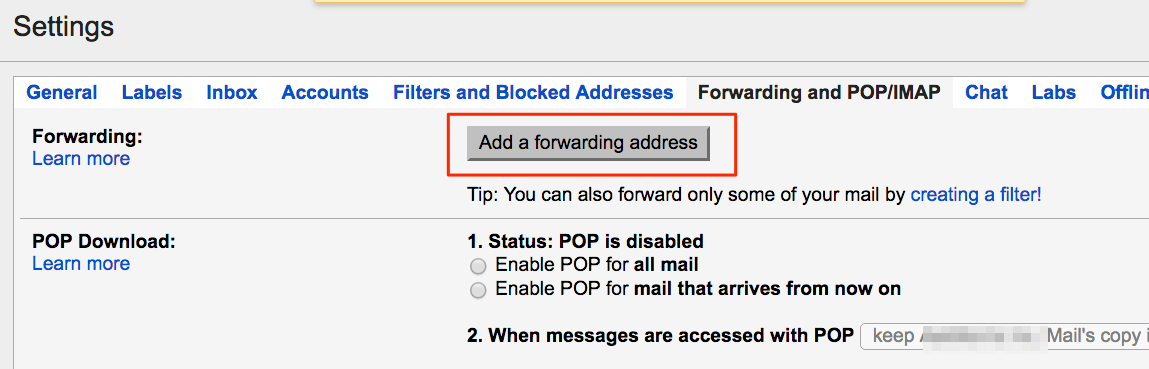
b) Add the address to your receiving account (destination)
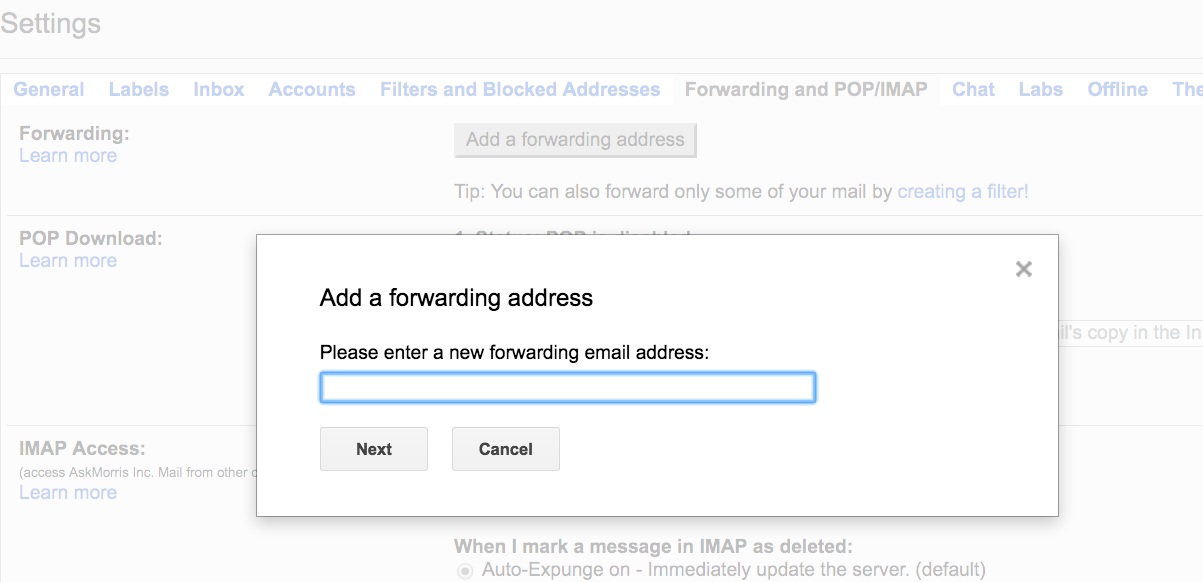
c) After typing in the email address of your new email account, a confirmation code will be sent to that email address.
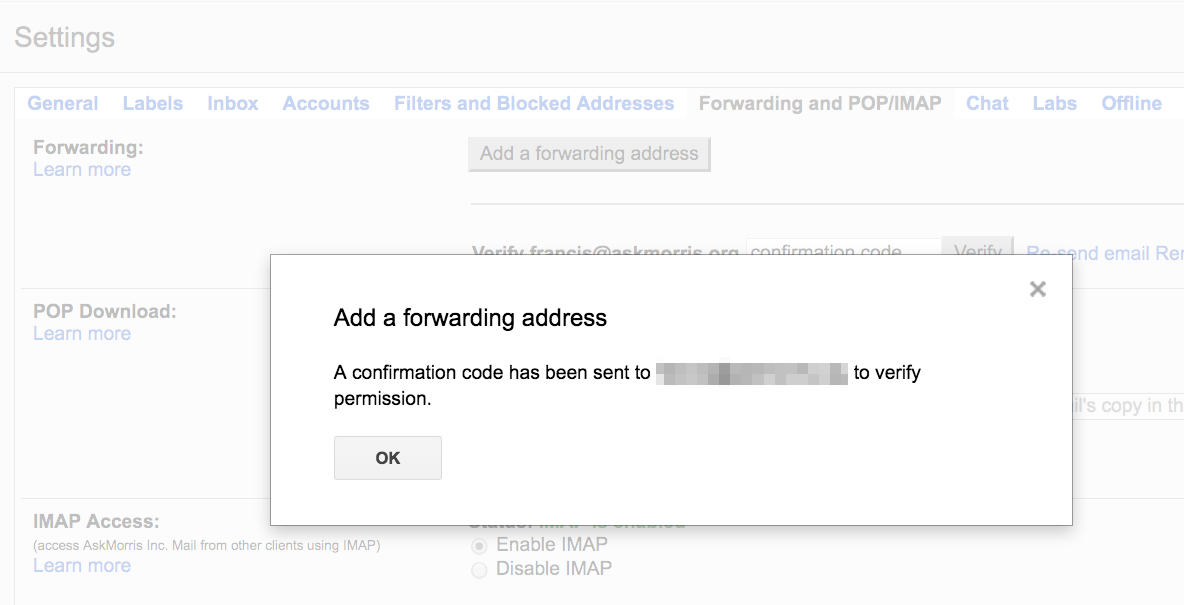
d) Once you have retrieved the confirmation code, paste it in
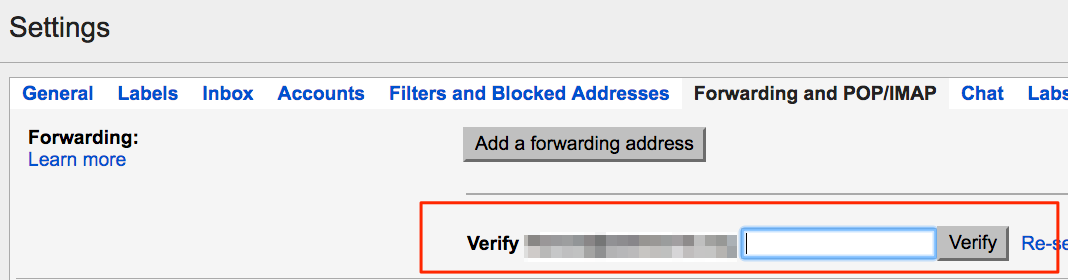
e) Now all we need to do is activate the forwarding address we just created
(don't forget to save your settings by clciking 'save' button at the bottom of the settings page)
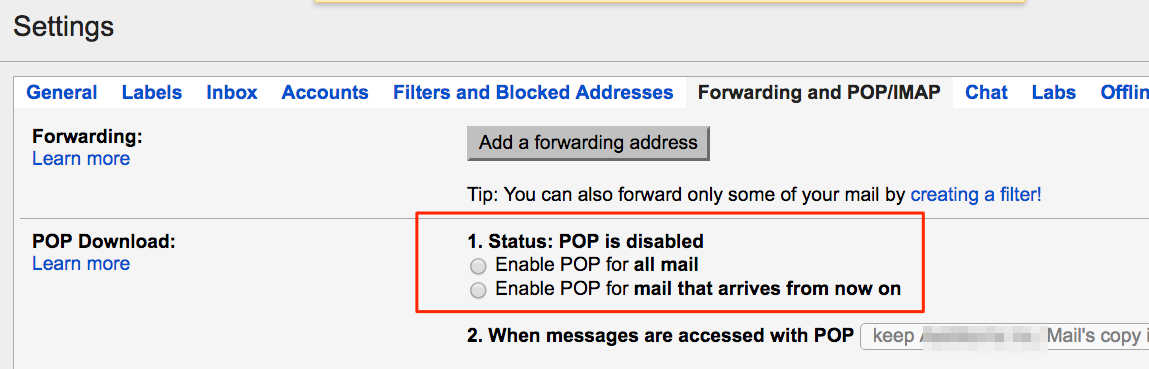
(7) Since we are still in the source account we might want to also turn off pop3 access
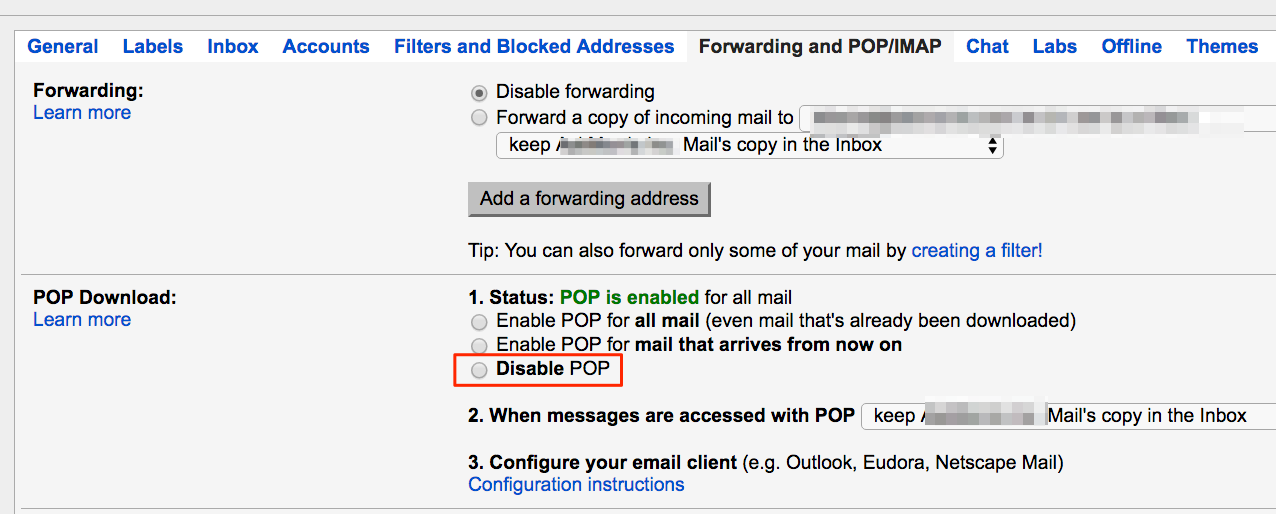
You will know that pop3 is disabled when you see this:
THE GOTCHA'S
LOGIN PROBLEMS - You may run into some issues when you are able to login to pop3. When that happens you'll find possible answers at Google's great "Check emails from other accounts" help page:
https://support.google.com/mail/answer/21289#gmail
(look at the section "Server denied POP3 access")
THE "USE LESS SECURE APPS" SETTING - Google may ask you to temporarily change a setting in the source account. That setting can be hard to find. Provided you are logged into your source account, below links should take you to the right place:
ADDITIONAL INFORMATION
MORE TUTORIALS & HELP
This tutorial covers moving emails only. If you have more things you want to move between google email accounts, I recommend this article:
http://www.howtogeek.com/148036/how-to-migrate-your-google-account-to-a-new-one/
A different method is used but it works just as well AND this method also brings over email labels since IMAP is used instead of pop3.
Follow the tutorials step-by-step, have patience and you'll soon have all your emails safely moved.
Reference Links:
https://support.google.com/mail/answer/21289#gmail
http://www.howtogeek.com/148036/how-to-migrate-your-google-account-to-a-new-one/